How to Promote Your Brand Using Stickers in 2024

Promoting your brand using stickers can be a creative and cost-effective strategy. Custom vinyl stickers can turn your customers into brand ambassadors and your merchandise into walking advertisements. Here’s how you can effectively use stickers to promote your brand:

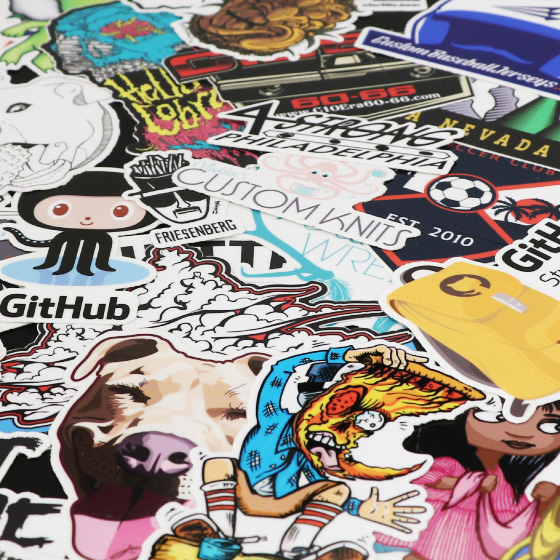
1. Design Eye-Catching Stickers

Create visually appealing and memorable stickers that represent your brand identity. Incorporate your logo, brand colors, and a catchy tagline. Ensure the design stands out and communicates your brand message effectively.

2. Give Stickers as Freebies

Include stickers as a free bonus with every purchase. This can make your customers feel valued and increase the chances of using the stickers, thus promoting your brand. If you’re on a budget, you can start off with non-laminated vinyl stickers.

Hand out stickers at events, conferences, or in high-traffic areas. Make sure they are easily accessible.

3. Use Stickers in Packaging

Place stickers on your product packaging or as a seal on wrapped items. It enhances the unboxing experience and encourages customers to share their experiences on social media, further promoting your brand.

4. Encourage Social Media Shares

Encourage customers to share where they’ve placed their stickers on social media, perhaps with a specific hashtag. This not only promotes your brand but also engages your audience. Consider running a contest, a shout-out, or offering discounts to incentivize shares.

5. Partner with Influencers or Businesses

Collaborate with influencers or complementary businesses to distribute your stickers. They can include them in their product shipments or display them in high-visibility areas, expanding your brand’s reach.

  • Send sticker packs to influencers in your niche. If they use or showcase your stickers, it can expose your brand to a larger audience.
  • Make sure the stickers, like the rest of your promotional items, reflect your brand’s identity and values.

6. Utilize Stickers in Guerrilla Marketing

Creative placement of stickers in public spaces (with permission) can generate buzz. Think of places your target audience frequents and where stickers might surprise them.

7. Customize Stickers for Different Audiences

Tailor your stickers for different segments of your target audience. This can include custom designs for different events, locales, or interests, making them more relevant and appealing.

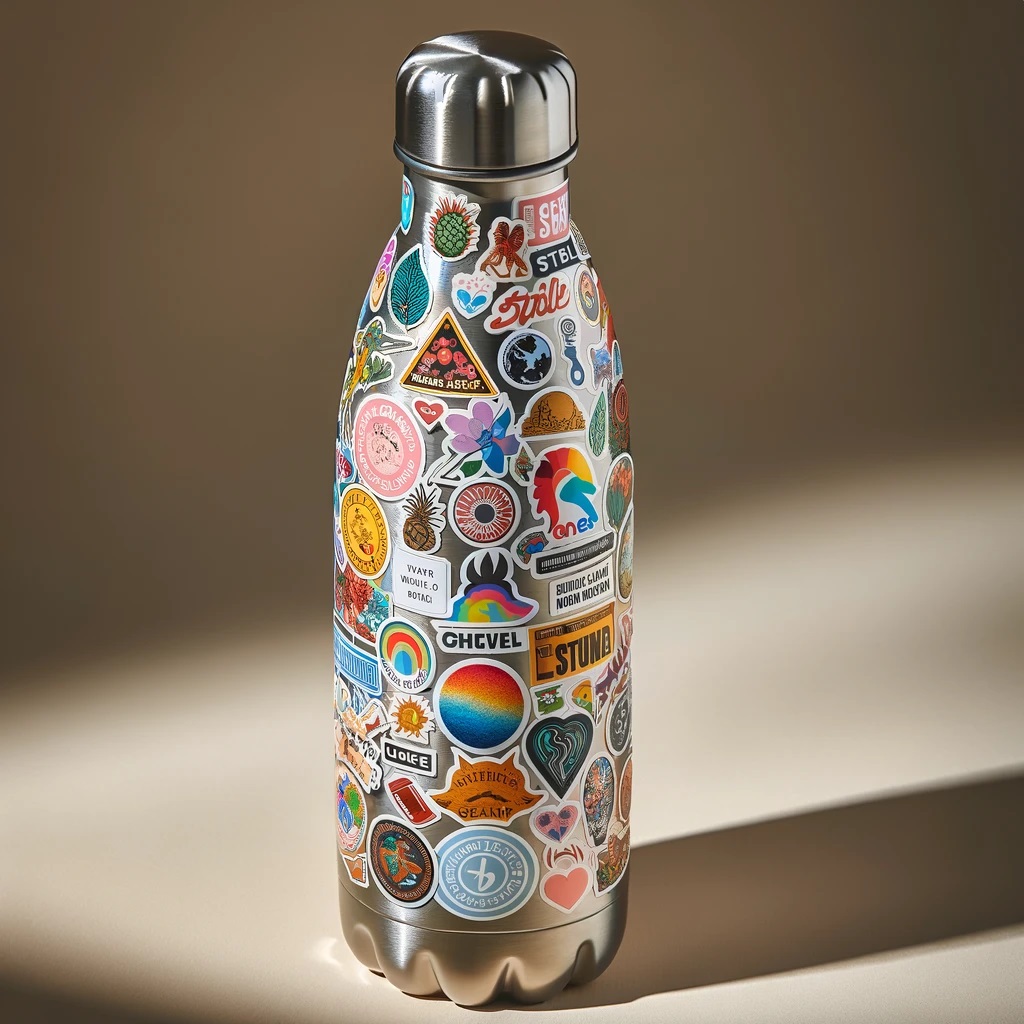
8. Use Stickers on Company Gear

Equip your team with stickers on their laptops, water bottles, cars, and more. It’s a simple way to show off your brand identity and spark conversations in public spaces or during professional meetups.

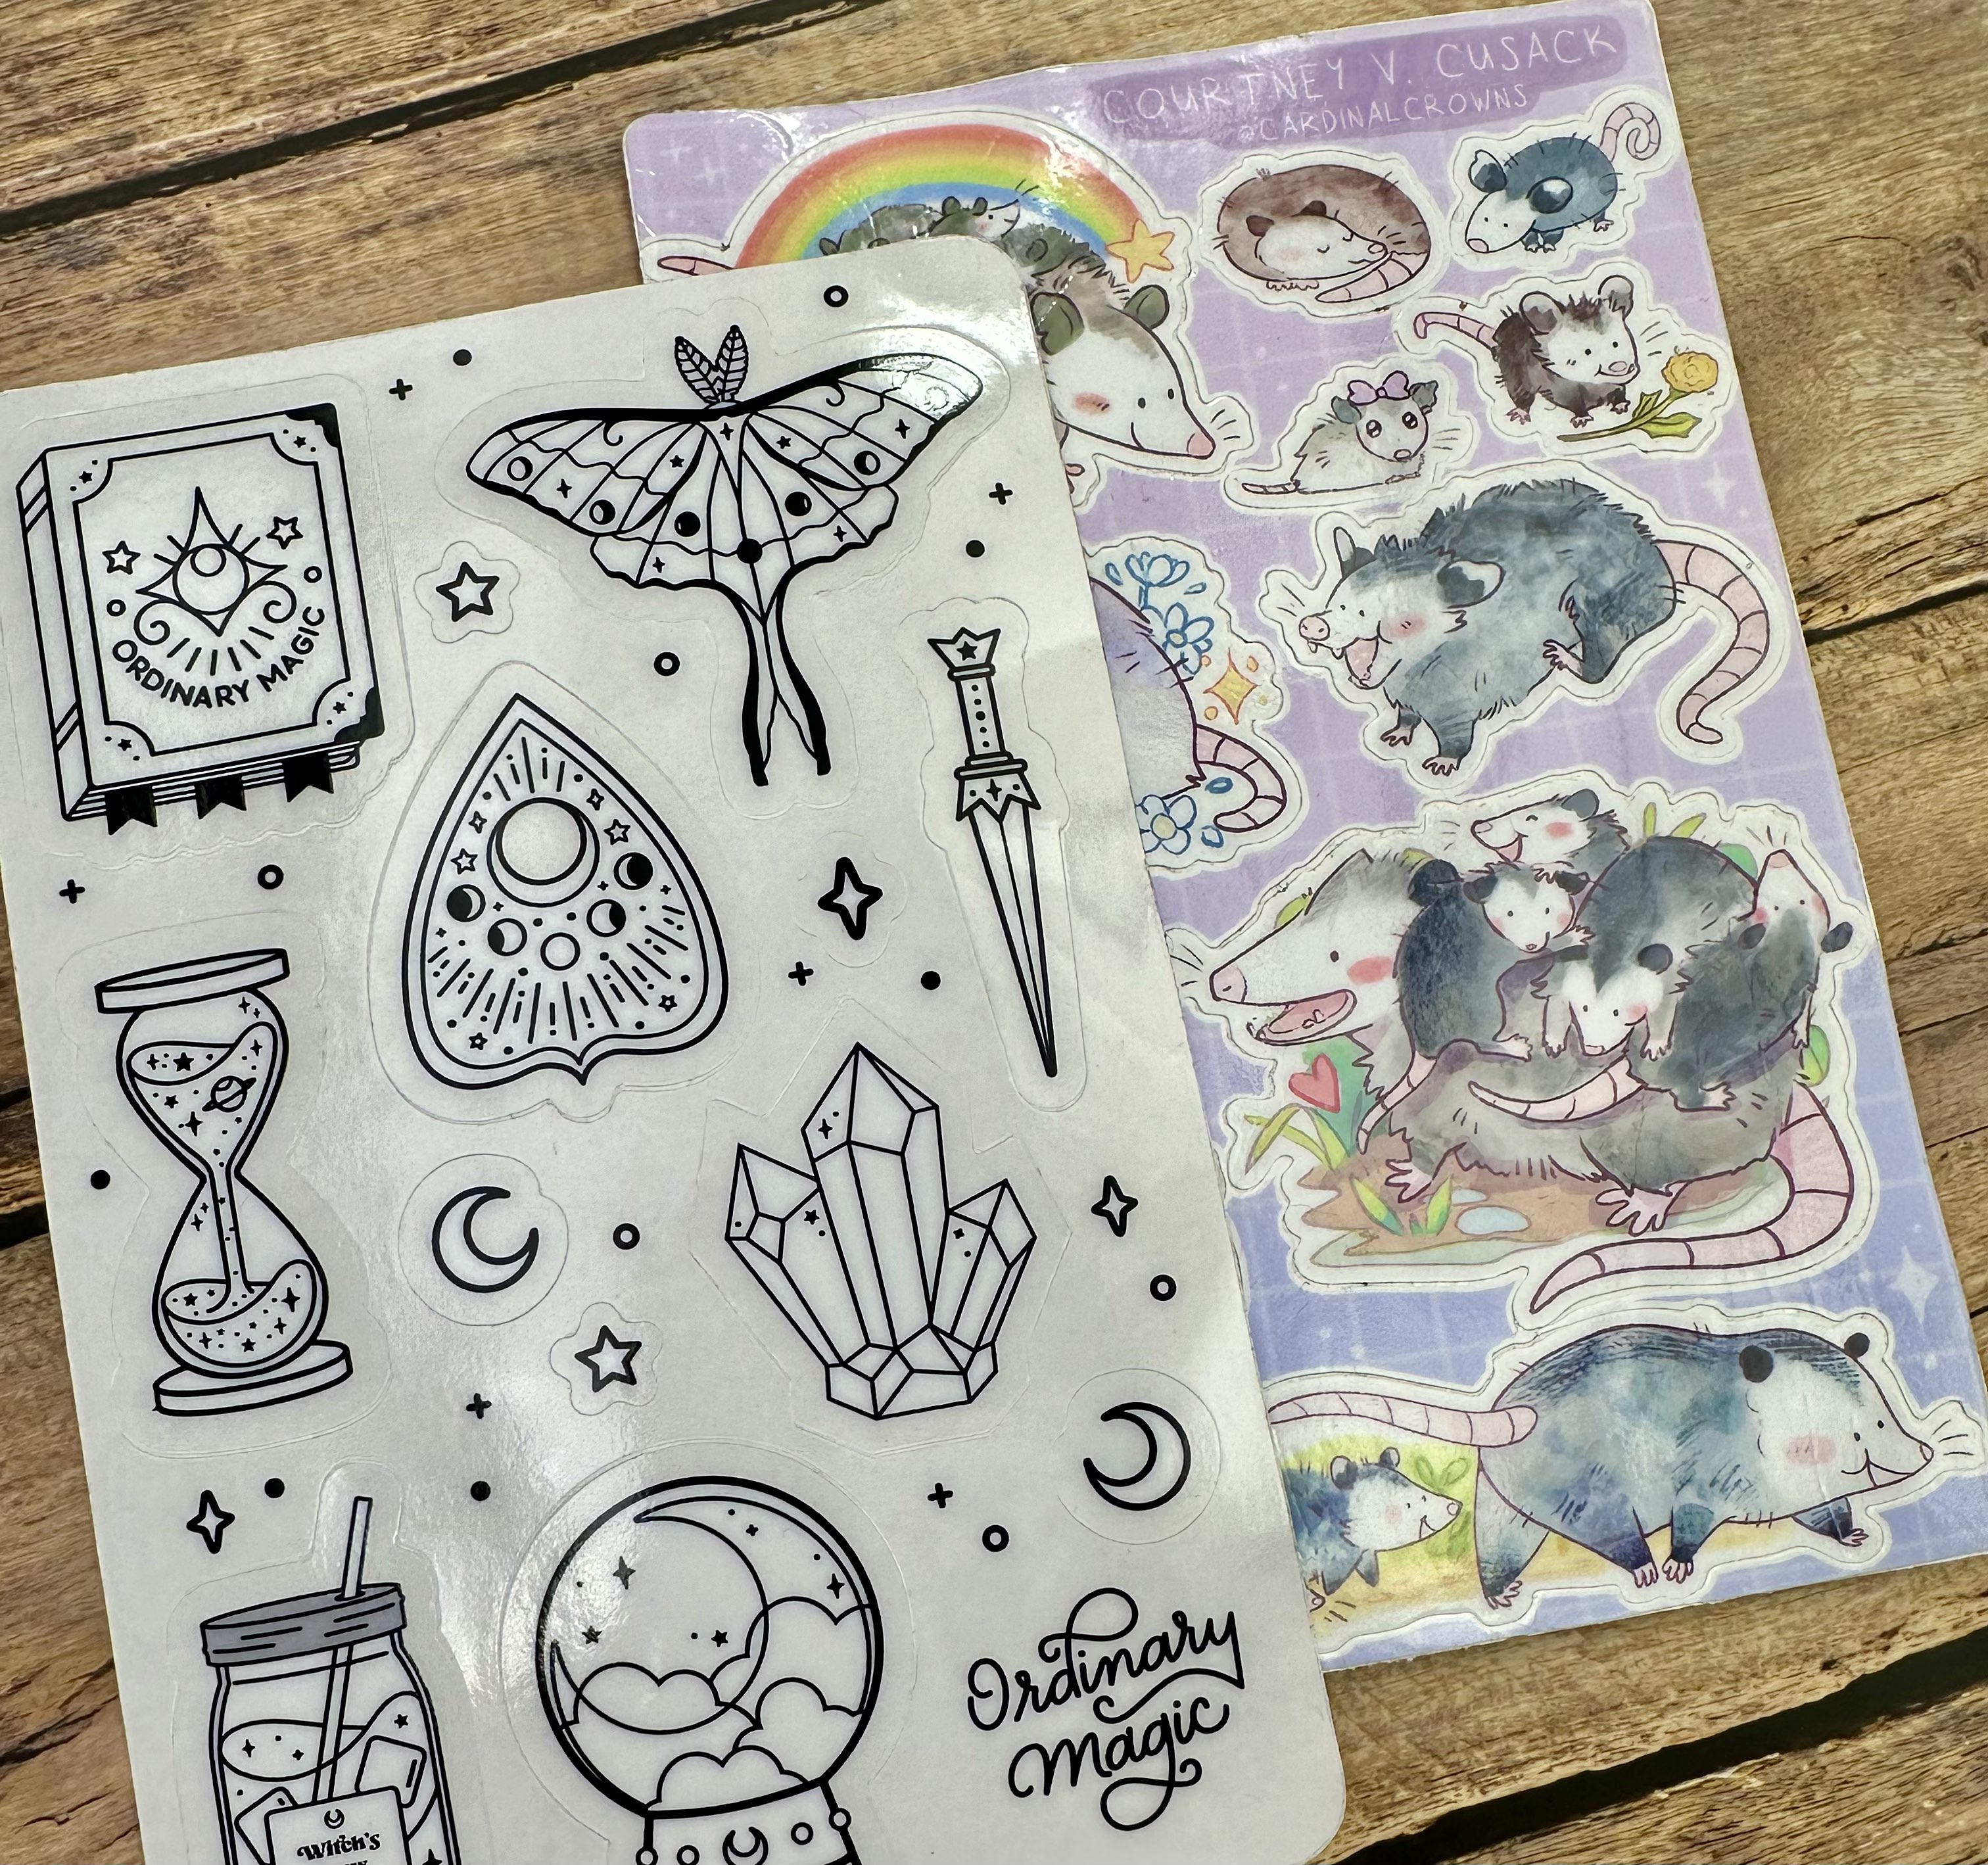
9. Create a Collectible Series

Release limited edition stickers or a series that customers can collect over time. This encourages repeat purchases and can create a sense of community among your customers.

10. Feedback and Adapt

Gather feedback on your sticker campaigns and observe which stickers are most popular or where they are being placed. Use this information to refine future sticker designs and distribution strategies.

Key Considerations

Quality matters. Ensure your stickers are durable, especially if they’re meant for use on items like cars or laptops. The best thing to do is to get a printed test sample and test it out.

Be mindful of regulations and community norms regarding public sticker placement to avoid any negative backlash.

By creatively leveraging stickers in your marketing strategy, you can increase brand awareness, engage your audience, and create a unique identity in a crowded market.

How to make QR Code Stickers

Making QR code custom vinyl stickers involves a few steps, from creating the QR code to printing and ensuring it’s easily scannable. Here’s a straightforward process to follow:

Purpose: Choose the information that your QR code will direct to.

1. Create the QR Code:

Purpose: Decide on the available content your QR code will link to. This could be a URL, text, phone number, or even a vCard for contact information.

QR Code Generator: Use an online QR code generator. Several free options are available, such as QR Code Monkey, QR Stuff, or GoQR.me. These sites allow you to input your content and generate a QR code.

Customization: Some generators let you customize your QR code’s color, add a logo, or change the shape of the blocks to make your QR code stand out.

  • Combining Artwork or Advertisements: Seamlessly integrating QR codes into artwork, posters, or digital advertisements can make them part of a cohesive design, encouraging interaction through curiosity or engagement with the visual content.
  • Use in Unconventional Locations: Placing QR codes in unexpected but strategic locations can spark interest. The novelty of finding a QR code in a unique spot can drive people to scan it out of curiosity.

2. Test the QR Code:

Scanning: Use your smartphone or a QR code scanner to test the QR code. Ensure it directs to the intended content quickly and correctly.

Readability: Ensure the QR code is clear and not distorted. If it’s too small, too crowded, or poorly contrasted, it might not scan properly. It is highly recommended to print out a test sample first.

3. Prepare for Printing:

High Resolution: Save your QR code image in a high-resolution format (e.g., PNG or SVG). This ensures it remains clear when printed and scaled. Typically 300 dpi is the best resolution for printing.

Size: Consider the size of the sticker. A QR code should be at least 1 x 1 inch (2.5 x 2.5 cm) to be easily scannable from smartphones. The size might need to be adjusted based on how far away people will be scanning it from.

Color: Avoid using colors that are too light for the scanner to pick up such as pastels. We suggest increasing the saturation or picking a color that will give contrast to the background.

4. Print the Stickers:

Sticker Vinyl: You can print your stickers that is compatible with your printer. You can choose between pre-cut sticker sheets or full-page sticker paper that you can cut yourself. Otherwise, you can visit our custom QR code vinyl sticker page and we’ll take care of the production for you.

Print Settings: Use the highest quality print settings to ensure the QR code is sharp and the colors (if any) are vibrant.

Cutting: If you’re using full-page sticker paper, carefully cut out the QR codes. Ensure the edges are smooth and the QR code isn’t damaged in the process.

5. Placement and Usage Tips:

Visibility: Place the stickers in locations where they are easily visible and accessible. Avoid reflective surfaces or areas where the sticker might be partially obscured.

Instructions: Consider adding brief instructions or a call to action near the QR code, like “Scan me!” or “Scan for more info!” to encourage interaction.

Testing: Once the stickers are placed, test them again to ensure they’re easily scannable in their environment.

Following these steps should help you create effective and scannable QR code stickers. Remember, the key to a successful QR code campaign is not just the code itself but also its placement, visibility, and the value of the content it leads to.

How to Make Sticker Sheets

vinyl disorder customer sticker sheet kiss-cut examples gloss rectangle featuring a tattoo design and a possum critter

Creating sticker sheets is a fun and rewarding process that combines creativity with technical skill. Whether you’re a hobbyist looking to personalize your belongings or an artist intending to sell your work, here’s a step-by-step guide to making your own sticker sheets.

Step 1: Design Your Stickers

Choose a Theme: Start by deciding on a theme for your sticker sheet. It could be anything from nature, animals, and food to characters from your favorite show or your original artwork.

Design Software: Use graphic design software like Adobe Illustrator, Photoshop, Procreate, or free alternatives like GIMP and Inkscape. These programs offer the tools you need to create or edit your designs with precision.

Layout: Arrange your individual sticker designs on a standard sheet size (e.g., A4, A5, or Letter) in your chosen software. Ensure you leave enough space between each sticker to cut them out easily.

Spacing: For sticker sheets, we require the following:

  1. Design must have a cut line of 0.06 offset from the design
  2. The bleeds are typically another .06 outside of that to ensure the tolerance of the cutter so more of less .12 of white if you want to include the bleed
  3. The gap between the cut lines needs to be at least .15″ apart.

Another option: if you do not have vector artwork, we can have our art team recreate your graphic for a small design charge. We will give you a copy of this file as well as it allows you to print your image at 3″ or 3′ pixel perfect! Great for making shirts, hats, and anything print-related!

Create Outlines: If your stickers have shapes, add a border or outline to each design. This will define the edges of each sticker and can help guide cutting, especially if using a cutting machine.

Step 2: Choose Your Materials

Sticker Finish: Select the right type of sticker finish for your project. Options include matte, glossy, vinyl, and clear sticker vinyl. Consider durability, finish, and the purpose of your stickers when choosing.

Printer: Use a high-quality inkjet or laser printer for printing your designs. The choice between inkjet and laser printers depends on the type of sticker paper you’re using and the desired quality.

Step 3: Print Your Stickers

Test Print: Before printing on your sticker paper, do a test print on regular paper. This helps check for color accuracy and layout issues.

Print Settings: Adjust your printer settings for the best quality, and select the correct paper type if your printer offers this option. Ensure your design is printed at the highest resolution for crisp and vibrant stickers.

Step 4: Cut Out Your Stickers

Manual Cutting: Use a pair of scissors or a craft knife and a cutting mat to cut out each sticker. If you’re using a craft knife, be precise and careful to achieve clean edges.

Cutting Machine: For a more professional finish or to produce stickers in larger quantities, consider using a cutting machine like a Cricut or Silhouette. These machines can precisely cut complex shapes and are ideal for making sticker sheets efficiently. If you prefer to leave it to the manufacturer, trust us and browse our kiss-cut sticker sheets here.

Step 5: Apply a Protective Layer (Optional)

Lamination: If you want your stickers to be more durable, especially if they’re exposed to water or sunlight, consider laminating them with a clear vinyl overlay. This step is particularly recommended for vinyl stickers. Available in gloss, matte, satin, etc. For non-lam, please contact us at support@vinyldisorder.com for a request.

Step 6: Peel and Stick

Once your stickers are cut, they’re ready to use. Peel them from the backing and apply them to your chosen surface.

Concept presented by crossword with words idea, vision, action and success with wooden cubes on wooden background.

Tips for Success

  • Quality Artwork: Start with high-resolution images or designs to ensure your stickers look sharp and professional.
  • Experiment: Don’t be afraid to experiment with different materials and designs to find what works best for you.
  • Legal Considerations: If you’re planning to sell your sticker sheets, ensure your designs don’t infringe on copyrights or trademarks.
  • Packaging: If selling, consider how you’ll package your sticker sheets. A clear cellophane bag with a cardboard topper or a custom-printed envelope can make a good impression.

Creating sticker sheets from scratch allows for endless creativity and personalization. Whether for personal use or commercial sale, following these steps can help you produce high-quality sticker sheets that stand out.

Best Kids Room Wall Decals in 2024

Designing a fun and creative space for kids goes beyond picking furniture and colors. It’s about inspiring their imagination, creativity, and giving them a cozy place to learn and grow. Wall decals are a great option to decorate kids’ bedrooms. They are versatile, affordable, and easy to change.

In recent years, the popularity of decals has soared, thanks to their ability to transform spaces without the commitment or cost of traditional wallpaper or paint murals. Here, we delve into the top ten decal themes that have captured the hearts and imaginations of children and parents alike.

1. Space and Astronomy: A Universe of Imagination

The allure of space and the mysteries of the universe have always fascinated children. Space-themed decals transport kids to outer space, igniting dreams of interstellar adventures. Imagine a wall adorned with glowing stars, planets in vibrant colors, a smiling moon, and the occasional astronaut or alien. These designs can inspire an early interest in science, astronomy, and exploration, making the bedroom not just a place to sleep, but a launchpad for dreams.

2. Dinosaurs: Prehistoric Adventures Come to Life

Dinosaurs bring an element of excitement and adventure to any child’s bedroom. From the mighty T-rex to the gentle Brontosaurus, dinosaur decals allow children to create their own Jurassic world. These decals come in a variety of styles, from realistic depictions to more whimsical, cartoon-like designs, making them suitable for toddlers to tweens. They encourage not only imaginative play but also an interest in history and paleontology.

3. Underwater and Marine Life: Exploring the Depths

The deep blue sea and its myriad of inhabitants offer an endless source of fascination. Decals that feature underwater scenes with colorful fish, dolphins, mermaids, and coral reefs create a serene and captivating environment. Such themes can have a calming effect, making them ideal for bedrooms. They encourage curiosity about the natural world and the importance of marine conservation, teaching children about the beauty and fragility of oceanic life.

4. Animals and Jungles: A Wild Touch

You can easily bring the thrill of an African safari or the mysteries of a tropical jungle into a child’s bedroom with animal and jungle decals. Lions, elephants, giraffes, and zebras, among others, lend a sense of adventure and wildness to the decor. These themes are not just visually stimulating but also offer educational value, introducing children to different species and habitats, fostering a love and respect for wildlife.

5. Fantasy and Fairy Tales: Magic Around Every Corner

For many children, their bedroom is a sanctuary where the magic of fairy tales and fantasy worlds comes to life. Decals featuring castles, dragons, unicorns, and fairies can transform a simple room into a land of enchantment. This theme is particularly effective in nurturing creativity, storytelling skills, and a love for reading. It serves as a reminder that magic exists in the world if only one knows where to look.

6. Superheroes: Heroes Among Us

Kids love superheroes because they represent bravery, fairness, and standing up to bad guys. Decals of beloved characters from comics and movies can make kids feel like they’re part of an epic story. This theme not only personalizes their space but also instills values such as bravery, resilience, and compassion. It’s a way for children to have their heroes close by, inspiring them to be their best selves.

7. Sports: Celebrating Athletic Aspirations

For the young athlete, assembling a sports theme can be both inspiring and motivating. Decals representing their favorite sports, teams, or athletes can turn a bedroom into a hall of fame, celebrating achievements and aspirations. This theme is particularly adaptable, catering to any sport from soccer to basketball, gymnastics to martial arts. It encourages physical activity, teamwork, and the importance of practice and perseverance.

8. Floral and Nature: Bringing the Outdoors In

A connection with nature is vital for children, and floral and nature-themed decals can bring a piece of the outside world into their personal space. Trees, flowers, and woodland creatures create a peaceful and nurturing environment. This theme can help soothe and relax, making the bedroom a haven of tranquility. It also teaches children about the beauty of nature and the importance of environmental stewardship.

9. Educational Decals: Learning on the Walls

Wall decals can be more than just decorative; they can also serve as educational tools. Maps, alphabets, numbers, and even solar systems not only add visual interest but also engage children in learning. These decals can spark curiosity about geography, language, math, and science, integrating learning seamlessly into daily life. They transform the bedroom into a dynamic classroom where education is a part of the decor.

10. Custom Name Decals: Personalization at Its Best

In a world that highly values personalization, custom name decals add a unique touch to a child’s bedroom. Seeing their name on the wall can make children feel special and valued, reinforcing their sense of identity. You can design these decals in various fonts and colors to match any theme, making them a versatile choice for adding a personal touch to the decor.

Creating a World of Dreams

Decorating a child’s bedroom with wall decals is an adventure in itself. It’s an opportunity to create a space that reflects their personality, interests, and dreams. Whether it’s a journey to outer space, a dive into the deep sea, or a trek through a jungle, each theme offers its own unique benefits and learning opportunities. The key is to choose a theme that resonates with the child, providing them with a space where they feel comfortable, inspired, and ready to explore the world around them.

In 2024, as we continue to navigate the challenges and opportunities of a rapidly changing world, these decal themes stand out for their timeless appeal and flexibility. They remind us that decorating a child’s bedroom is not just about aesthetics; it’s about nurturing their development, sparking their imagination, and providing a foundation for a lifetime of learning and growth.

What Material Should I Use for Stickers?

At VinylDisorder, we have a variety of sticker materials and formats for you depending on your application. We know that stickers can affect your brand, and sometimes it’s hard to know which one is best for you. We will explain the differences and advantages of each sticker to help you make a smart choice.

What materials are used for stickers?

Permanent Vinyl

Clear Permanent Vinyl

Holographic

Glitter Chrome

With this many varieties of vinyl materials, it’s also good to understand the overall advantages of vinyl material. Vinyl provides a slight flex or stretch in the material, which enables it to be more easily applied to both flat and curved surfaces. They laminate the vinyl material to make it extremely durable, weatherproof, waterproof, scratch-resistant, and smooth to the touch.

Permanent vinyl is easy to apply, but not bubble-free. The strong adhesive ensures that they will not be carelessly removed, making them great outdoors. This material can be ordered as pages or handouts (kiss-cut singles).

When it comes to adhesive, permanent has the strongest “stick”. This makes them great for more industrial applications such as property identification and warning or safety labels. This material is also laminated to be outdoor durable and waterproof.

Clear Permanent Vinyl

Clear stickers are a fantastic material option for various applications due to their unique characteristics. Clear stickers have a modern appearance and seamlessly blend with the surface they are placed on. This creates the illusion that the design is a part of the surface.

These stickers are versatile and can be used on any colored surface without the need for a white background, making them ideal for creating a professional and polished appearance. Additionally, clear stickers are visually appealing and allow the underlying surface to show through, creating a clean and sophisticated finish.

Holographic

If you’re looking to be blown away by an amazing sticker, holographic stickers may just be the way to go. These stickers are digitally printed with white ink and made from an innovative 3mil thick metalized vinyl, paired with a permanent acrylic adhesive. They are made with a highly reflective metallic-like layer which offers wonderful effects even in a dimly lit environment such as on a car surface at night!

Glitter Chrome

Pop culture trends are loving glitter again, and so are we! If you’re looking to add a flare to your artwork, our glitter stickers are the perfect way to bring your rainbow fantasy to life. Fashioned from a full-spectrum, holographic flake material, this metalized vinyl is incredibly high quality and built to last.

hand holding colorful glitter vinyl

Formats

All stickers that come on pages are die-cut to your chosen shape, allowing you to easily apply! If you are on a tight budget, this format is economically ideal when you’re printing lower quantities (less than a few hundred), as there are no minimum order quantities, allowing you to test out various different designs or layouts. We do offer custom samples of your design to get a feel for our material.

Kiss-Cut Singles (Handouts)

Kiss-Cut sticker singles look similar to mini sticker pages. The size of the page will be determined by the size of the stickers you create in our online creator.

These will arrive in stacks, and will be die-cut on each mini-page. These are a great affordable option for handouts at events and giveaways. It’s also possible to print on the backing around the sticker for additional branding before the sticker is peeled off!

Looking for more than one die-cut for your sticker? Our printed die-cut decals allow you to cut out the individual elements of your design.

Transfer Vinyl Decals come on transfer paper with backing – this allows you to peel off the backing, apply your design, and peel off the front transfer paper, leaving only your multi-die-cut design.

Die-Cut Singles

Die-cut singles are similar to kiss-cut singles, but have a more premium finish. These vinyl stickers are individually cut, and will be delivered in stacks without any extra backing around your sticker design. This is a great option if you want an end product that implies luxury and top-notch quality, as the die-cut goes through the sticker and the backing, leaving a flush, professional finish.

Die-cut singles also have a semi-gloss finish, so they’re the perfect in between for a subtle yet beautiful shine. The precise die-cut brings your design to life, whether for business or personal expression!

If you’re interested in ordering some or getting a quote, feel free to reach out to Support@VinylDisorder.com – our sales team would be happy to assist you.

How to Make Sure Stickers NEVER Fall Off Water Bottle

Adorning stickers on your favorite water bottle is the best way to show some personality. Ensuring your stickers remain affixed to your favorite water bottles, or any similar high-use, frequently washed items involves proper application and selecting the right type of sticker. Here’s how to make sure your stickers stay put, enduring the test of time and use:

1. Choose High-Quality, Waterproof Stickers

  • Material Matters: Opt for stickers made from vinyl or a similarly durable, waterproof material. These are designed to withstand exposure to water, sunlight, and general wear and tear. We recommend using Permanent Vinyl Stickers. They’re waterproof, scratch-resistant, and UV-resistant in all weather conditions.
  • Adhesive Quality: Look for stickers with a strong adhesive backing. High-quality adhesive ensures the sticker will cling to the surface without peeling off at the edges.

2. Prepare the Surface

The key to a long-lasting waterproof sticker application is starting with a clean, dry surface.

  • Clean Thoroughly: Use soap and water to remove any dirt, oil, or residue from the container’s surface. For tougher residues, rubbing alcohol can be a more effective cleaner.
  • Dry Completely: After cleaning, dry your bottle thoroughly. We recommend wiping with a lint-free cloth. Any moisture on the surface can prevent the sticker from adhering properly.

3. Apply Carefully

The application process is crucial for ensuring your sticker doesn’t fall off.

  • Positioning: Before peeling off the backing, decide where you want to place your sticker. Avoid areas that curve too much, as flatter surfaces provide better adhesion.
  • Apply Evenly: Peel off the backing and apply the sticker slowly, smoothing it down from one side to the other to avoid air bubbles. Use a credit card or a squeegee to press out any bubbles and ensure the sticker is fully adhered to the surface.

4. Seal for Extra Durability

For added protection, especially if you plan on using your Hydro Flask in environments where it will be subject to lots of wear, consider sealing the sticker.

  • Use a Sealant: A clear, waterproof sealant spray designed for outdoor use can provide an extra layer of protection. Make sure the sealant is compatible with both the sticker material and the surface of your water bottle.
  • Apply Carefully: Follow the instructions on the sealant, applying it in a well-ventilated area and allowing it to dry completely before using your flask.

5. Care and Maintenance

  • Hand Wash: Even if your stickers are waterproof, it’s best to hand wash your container instead of using a dishwasher. The high heat of a dishwasher can weaken the adhesive over time.
  • Avoid Abrasives: When cleaning, avoid using abrasive sponges or brushes on the sticker area to prevent peeling edges.

6. Test and Replace

  • To test the sticker’s durability, apply it to a less visible area. Check how it holds up after a few days of regular use and washing.
  • Replace as Needed: Even the best stickers may eventually wear out, especially with heavy use. Keep an eye on your stickers and replace them if they start to peel or fade.

By choosing the right stickers, preparing the surface properly, and applying them carefully, you can ensure that your water bottle showcases your personality and interests without the frustration of peeling or faded stickers. Remember, the longevity of a sticker isn’t just about the sticker’s quality but also about how well it’s applied and maintained.

How to Create Clear Vinyl Stickers using Adobe Illustrator

Clear stickers are one of the more popular sticker trends for businesses and artists alike. Creating clear stickers with Adobe Illustrator involves designing your artwork to be printed on transparent vinyl or a similar material. Here’s a step-by-step guide to help you create clear stickers in Adobe Illustrator:

### 1. Set Up Your Document

– **Open Adobe Illustrator** and create a new document by going to `File > New`. Set your document size according to the desired size of your sticker. For clear stickers, it’s also important to consider the bleed, which is extra space around your design to ensure no unprinted edges occur in the final product. A common bleed size is 0.125 inches (about 3 mm) around each edge.

Note: In addition to Adobe Illustrator, other programs commonly used to design stickers include CorelDRAW, Inkscape, and Canva. These programs offer various tools and features that can help you create unique and eye-catching sticker designs.

### 2. Design Your Sticker

– **Create Your Design**: Use Illustrator’s tools, such as the Pen Tool, Shapes, and Type Tool, to create your sticker design. Keep in mind that anything not printed (no color or black) will be clear, so design accordingly.

– **Use Colors Wisely**: For clear stickers, remember that light colors may not be visible when applied to clear surfaces. Use bold and dark colors for better visibility and contrast.

– **Add White Layers (If Necessary)**: Some printers allow for white ink printing beneath the colored areas to make colors pop on clear stickers. If your printer supports this, you may need to create an additional layer in your design that represents where the white ink will go. Consult with your printer for their specific requirements.

### 3. Prepare for Printing

– **Outline Your Texts**: To ensure your text looks exactly as designed, convert your text to outlines by selecting all text and choosing `Type > Create Outlines`.

– **Use Vector Graphics**: Ensure all your design elements are in vector format to maintain quality at any size.

– **Check Colors**: Ensure your colors are set to CMYK mode for printing (`File > Document Color Mode > CMYK Color`) and check with your printer if they have specific color profiles or requirements.

– **Create a Cut Line**: If your sticker requires a custom shape, create a cut line around your design. This is often done with a stroke on a separate layer, usually in a bright color like magenta, to indicate to the printer where to cut the sticker. The stroke width and color may depend on your printer’s specifications.

### 4. Save Your File

– **Save as PDF**: When your design is ready, save your file in a format accepted by your printer, typically a PDF. Go to `File > Save As`, choose PDF, and click `Save`. In the dialog box that appears, choose the preset recommended by your printer, or select `Press Quality` for high-quality printing. Make sure to include the bleed in your PDF if required.

### 5. Communicate with Your Printer

– Before sending your design off for printing, it’s crucial to communicate with your printing service to ensure they understand your design, especially if it involves unique elements like white ink layers or custom cut lines. Provide them with your Adobe Illustrator files in addition to the PDF, in case they need to make adjustments.

Creating clear stickers in Adobe Illustrator requires attention to detail, especially regarding how your design will look when printed on a transparent background. By following these steps and working closely with your printer, you can achieve professional-looking clear stickers.

Try to Obtain a Sample

Getting a sample printed vinyl sticker before ordering in bulk is crucial for several reasons.

1. **Quality Check**: By getting a sample, you can check the quality of the print, colors, and overall appearance of the sticker. This allows you to make any necessary adjustments before committing to a large order.

2. **Color Accuracy**: Colors may appear differently on the actual printed sticker compared to what you see on your screen. A sample helps you ensure that the colors match your expectations.

3. **Material Evaluation**: Examining a sample sticker lets you assess the material used, its durability, and how it adheres to different surfaces. This is important to ensure that the stickers meet your quality standards.

4. **Design Verification**: Seeing a physical sample can help you verify that the design elements, text, and cut lines are correctly translated from your digital file to the printed sticker.

5. **Customer Satisfaction**: Ultimately, getting a sample allows you to confirm that the final product meets your requirements and expectations. It helps prevent any surprises or disappointments when receiving a large batch of stickers.

Weather Conditions Affecting Vinyl Sticker Application: Tips for Success

How Weather Conditions Can Affect Vinyl Sticker Application: Tips for Success

Applying vinyl stickers might seem like a straightforward task, but did you know that weather conditions can significantly impact the application process and the sticker’s longevity? Whether you’re a hobbyist or a professional in the sticker business, understanding how different weather elements affect vinyl sticker application is crucial. This post will explore how temperature, humidity, and other weather-related factors influence vinyl sticker adhesion and how to ensure a successful application regardless of the weather.

Temperature Matters

Optimal Conditions: Vinyl stickers have an optimal temperature range for application, typically between 50°F (10°C) and 90°F (32°C). Within this range, the adhesive becomes tacky enough to bond well with the surface without being too soft or too brittle.

Too Hot: When temperatures soar above 90°F, the adhesive can become too soft, causing the sticker to stretch and potentially tear during application. High heat can also make the adhesive bond too quickly, leaving less room for error correction.

Too Cold: Below 50°F, the adhesive hardens and loses its tackiness, making it difficult for the sticker to stick. Applying a sticker in cold weather can result in poor adhesion and increase the likelihood of the sticker peeling off.

Humidity’s Role

Ideal Humidity Levels: The best humidity level for applying vinyl stickers is between 40% and 60%. This range ensures the adhesive can properly cure and bond with the surface.

High Humidity: High humidity levels can introduce moisture between the sticker and the surface, interfering with the adhesive’s ability to bond. This can lead to bubbling and peeling over time.

Low Humidity: Low humidity isn’t as problematic as high humidity, but very dry conditions can cause the adhesive to cure too quickly, which might not give you enough time to reposition the sticker if needed.

Wind and Dust

Wind: A windy day can make sticker application challenging, especially for larger decals. The wind can cause the sticker to fold onto itself or collect debris, which compromises the adhesive.

Dust: Dust and debris can adhere to the sticker’s adhesive side, preventing a clean application. Always clean and dry the application surface thoroughly, but be extra vigilant on windy or dusty days.

Tips for Successful Vinyl Sticker Application in Any Weather

  1. Choose the Right Time: If possible, apply stickers in mild weather conditions. Early morning or late afternoon is often best to avoid the heat of the day.
  2. Prepare the Surface: Clean the application surface thoroughly with isopropyl alcohol and allow it to dry completely to remove any dust, oil, or moisture.
  3. Temperature Control: If applying stickers in extreme temperatures, try to control the environment. Use a garage or controlled indoor area for application during very hot or cold weather.
  4. Use a Heat Source: In cold conditions, gently heat the sticker and the application surface with a heat gun or hairdryer. This will make the adhesive more pliable and easier to work with.
  5. Deal with Humidity: In high humidity, ensure the surface is completely dry, and consider using a dehumidifier in the room where you’re applying the sticker.
  6. Patience is Key: After application, give the adhesive time to cure. Avoid washing or exposing the sticker to harsh conditions immediately after application.

Understanding how weather affects vinyl sticker application can make the difference between a perfectly applied sticker and one that fails to adhere properly. By taking the weather into account and following these tips, you can ensure that your vinyl stickers look great and last a long time, regardless of the conditions outside.

Check out our links on application:

How to Install a Vinyl Decal

Decal Installation Tips

How to Install a Sticker

How to Install a Printed Die Cut Decal

How to Order a Custom Sticker

Creative Uses of Vinyl Decals in Home Decor

Vinyl decals have become a versatile tool in home decor, offering creative ways to personalize and enhance spaces without permanent alterations. Here are five inventive uses of vinyl decals in home decor:

  1. Wall Murals and Art: Transform bland walls into stunning focal points with large vinyl decals that mimic murals or intricate wall art. Choose from landscapes, abstract designs, or realistic images to suit your decor theme.
  2. Furniture Makeovers: Give old furniture a new lease on life with vinyl decals. Apply geometric patterns, florals, or textures to tabletops, dresser drawers, refrigerators, and cabinet doors for a quick and affordable update. Even sprucing up the washing machine with decals can make a difference! 🙂
  3. Decorative Window Films: Use vinyl decals as an alternative to traditional window treatments. They can provide privacy while letting light in and can be cut into designs that mimic etched or frosted glass, adding an elegant touch to any room.
  4. DIY Backsplash: Create a faux tile backsplash in kitchens or bathrooms with vinyl decals. They come in various patterns and colors, offering a waterproof and heat-resistant solution that’s easy to apply and remove.
  5. Staircase Accents: Add character to your staircase by applying vinyl decals to the risers. Whether it’s quotes, patterns, or imagery, this can turn your stairs into a conversation piece and add a unique element to your home’s architecture.

These uses highlight the flexibility and creativity that vinyl decals offer for home decorating projects, allowing for personal expression and style enhancements with minimal effort and cost.

Related topics: How to Apply Vinyl Decals on Walls

Top 10 Trends in Vinyl Sticker Design for 2024

As we move through 2024, sticker design trends are evolving to reflect broader societal changes, technological advancements, and artistic movements. From the rise of digital culture to an increased focus on sustainability, these trends are shaping how stickers are designed, produced, and used. Here’s a look at the top 10 sticker design trends for 2024:

  1. Minimalist Design: The minimalist trend continues to dominate, with designs focusing on simplicity, clean lines, and monochromatic color schemes. This trend emphasizes the “less is more” philosophy, making bold statements with minimal elements.
  2. Bumper Stickers: Vinyl bumper stickers have become a trendy accessory for personalizing vehicles, allowing drivers to express their individuality, beliefs, and humor. Their popularity stems from the vast array of available designs, affordability, and ease of application and removal, making them a flexible choice for temporary customization. Advances in material and adhesive technology ensure they are durable and paint-friendly. Social media platforms further amplify their trendiness, serving as inspiration hubs where enthusiasts share and discover new designs, making vinyl bumper stickers a dynamic form of mobile expression in today’s culture.
  3. Nostalgic Revival: Retro and vintage designs are making a comeback, with stickers featuring elements from the ’80s, ’90s, and early 2000s. These designs evoke nostalgia and are popular among both older generations and younger audiences looking to explore past decades.
  4. Bold Typography: Stickers leverage bold, creative typography to make statements. This trend includes experimenting with font sizes, styles, and arrangements to create visual impact and convey messages effectively.
  5. Holographic and Metallic Finishes: Adding a futuristic touch, holographic and metallic finishes are on the rise. These stickers stand out due to their shiny, reflective surfaces, adding a layer of depth and dimensionality to designs.
  6. Personalization and Customization: The demand for personalized stickers is growing, with individuals and businesses looking for custom designs that reflect their identity, interests, or brand values. This trend is facilitated by advancements in printing technology, allowing for short runs of custom designs.
  7. Abstract and Geometric Patterns: Abstract shapes and geometric patterns are popular for their versatility and aesthetic appeal. These designs can range from simple and sophisticated to complex and colorful, fitting various uses and preferences.
  8. Inclusive and Diverse Themes: Reflecting a broader societal push towards inclusivity, stickers are increasingly featuring designs that celebrate diversity in all its forms. This includes representations of different cultures, identities, and body types.
  9. Wellness and Positivity: With a growing focus on mental health and well-being, stickers are being designed with positive affirmations, calming colors, and imagery intended to promote wellness and positivity.

These trends showcase the dynamic nature of sticker design in 2024, reflecting changes in technology, social norms, and aesthetic preferences. As stickers continue to serve as a form of expression and communication, these trends will likely evolve, paving the way for new innovations and styles in the future.